

I have the most awesome, creative and inspiring friends! This time it was Amy’s fault for my current project. She gifted me recently with a little tub of homemade cultured butter. It was so so good! I had stopped putting butter on my toast, and was using it judiciously for cooking, but not anymore. This butter was butter on steroids, if you are using butter purely for its taste, like on toast and potatoes, use cultured butter!
Actually, making cultured butter is quite easy, albeit a bit messy, but no more so than regular butter and the flavor return is tremendous.
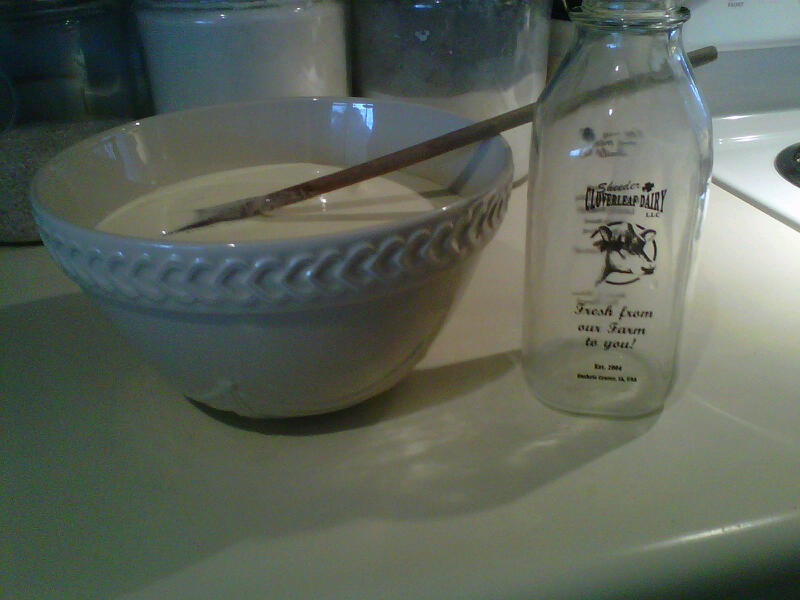
To begin, take two quarts of the best heavy cream you can find, but not ultra-pasturized. Luckily I have a few very good local dairies and chose to use Sheeder Cloverleaf Dairy because my favorite local grocery store carries it. By the way, their skim milk is divine, its like NOT drinking skim milk its so good!
Mix your good heavy cream with a small container of yogurt, I chose to use a good greek yogurt, its the only one I could find for small plain unflavored yogurt. Mix well, cover, and let sit overnight in a warm place. I just put mine on my counter, it sat out about 12 hours or so.

After letting it sit out overnight, mix vigorously. Amy said it won’t take much mixing, but I have weak little arms and let my KitchenAid mixer and paddle attachment do the work. Soon you will hear a sloshing and voila! A large lump of butter will be sitting in buttermilk! It didn’t take much time at all!

Drain off the buttermilk, but keep it! You can use it in biscuits, pancakes, and cornbread. From 2 quarts of cream I was able to reap 1 quart of buttermilk, pretty good return! Now put the butter in the refrigerator to let it firm up a bit and be easier to work.
After chilling for a bit, rinse and knead, then rinse and knead some more. Your goal is to have your final rinse water very clear without a trace of cloudiness. All the buttermilk needs to be rinsed out so your butter won’t sour and taste bad. I just kneaded it with my hands, and now my hands are literally buttery soft.
After kneading and rinsing very very well, you will now press out the water. Using a rubber spatula, press and smooth the butter against the sides of the bowl and pour out any water that “weeps” out the butter. Keep pressing and draining until no more water remains. At this point, your butter is finished, or you can salt it using pickling salt or sea salt. I chose to salt it. Salting also may help the butter firm up a bit.

Years ago, I found a great carnival glass cow butter mold, on ebay. I have had great luck finding good vintage items at reasonable prices on ebay, but I was probably just lucky and looking in the right place at the right time, but that’s part of the charm of vintage, right? I set the mold in one of the cream bottles to hold it while I filled it, then turned it over and set in on a saucer to firm up in the refrigerator.

The rest of the butter I put in little containers to give away. This was really so simple, I may put into the regular rotation of kitchen chores along with canning, bacon curing and bread baking.
I do hope you will give this a try, I used 2 quarts of cream and made alot, and I’m sure it will keep well in the freezer.