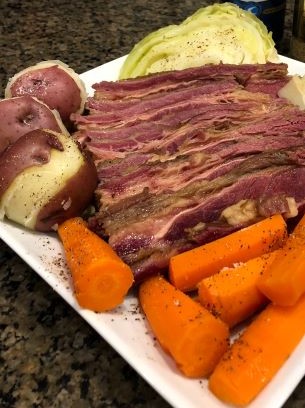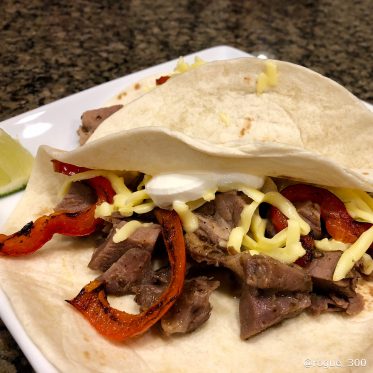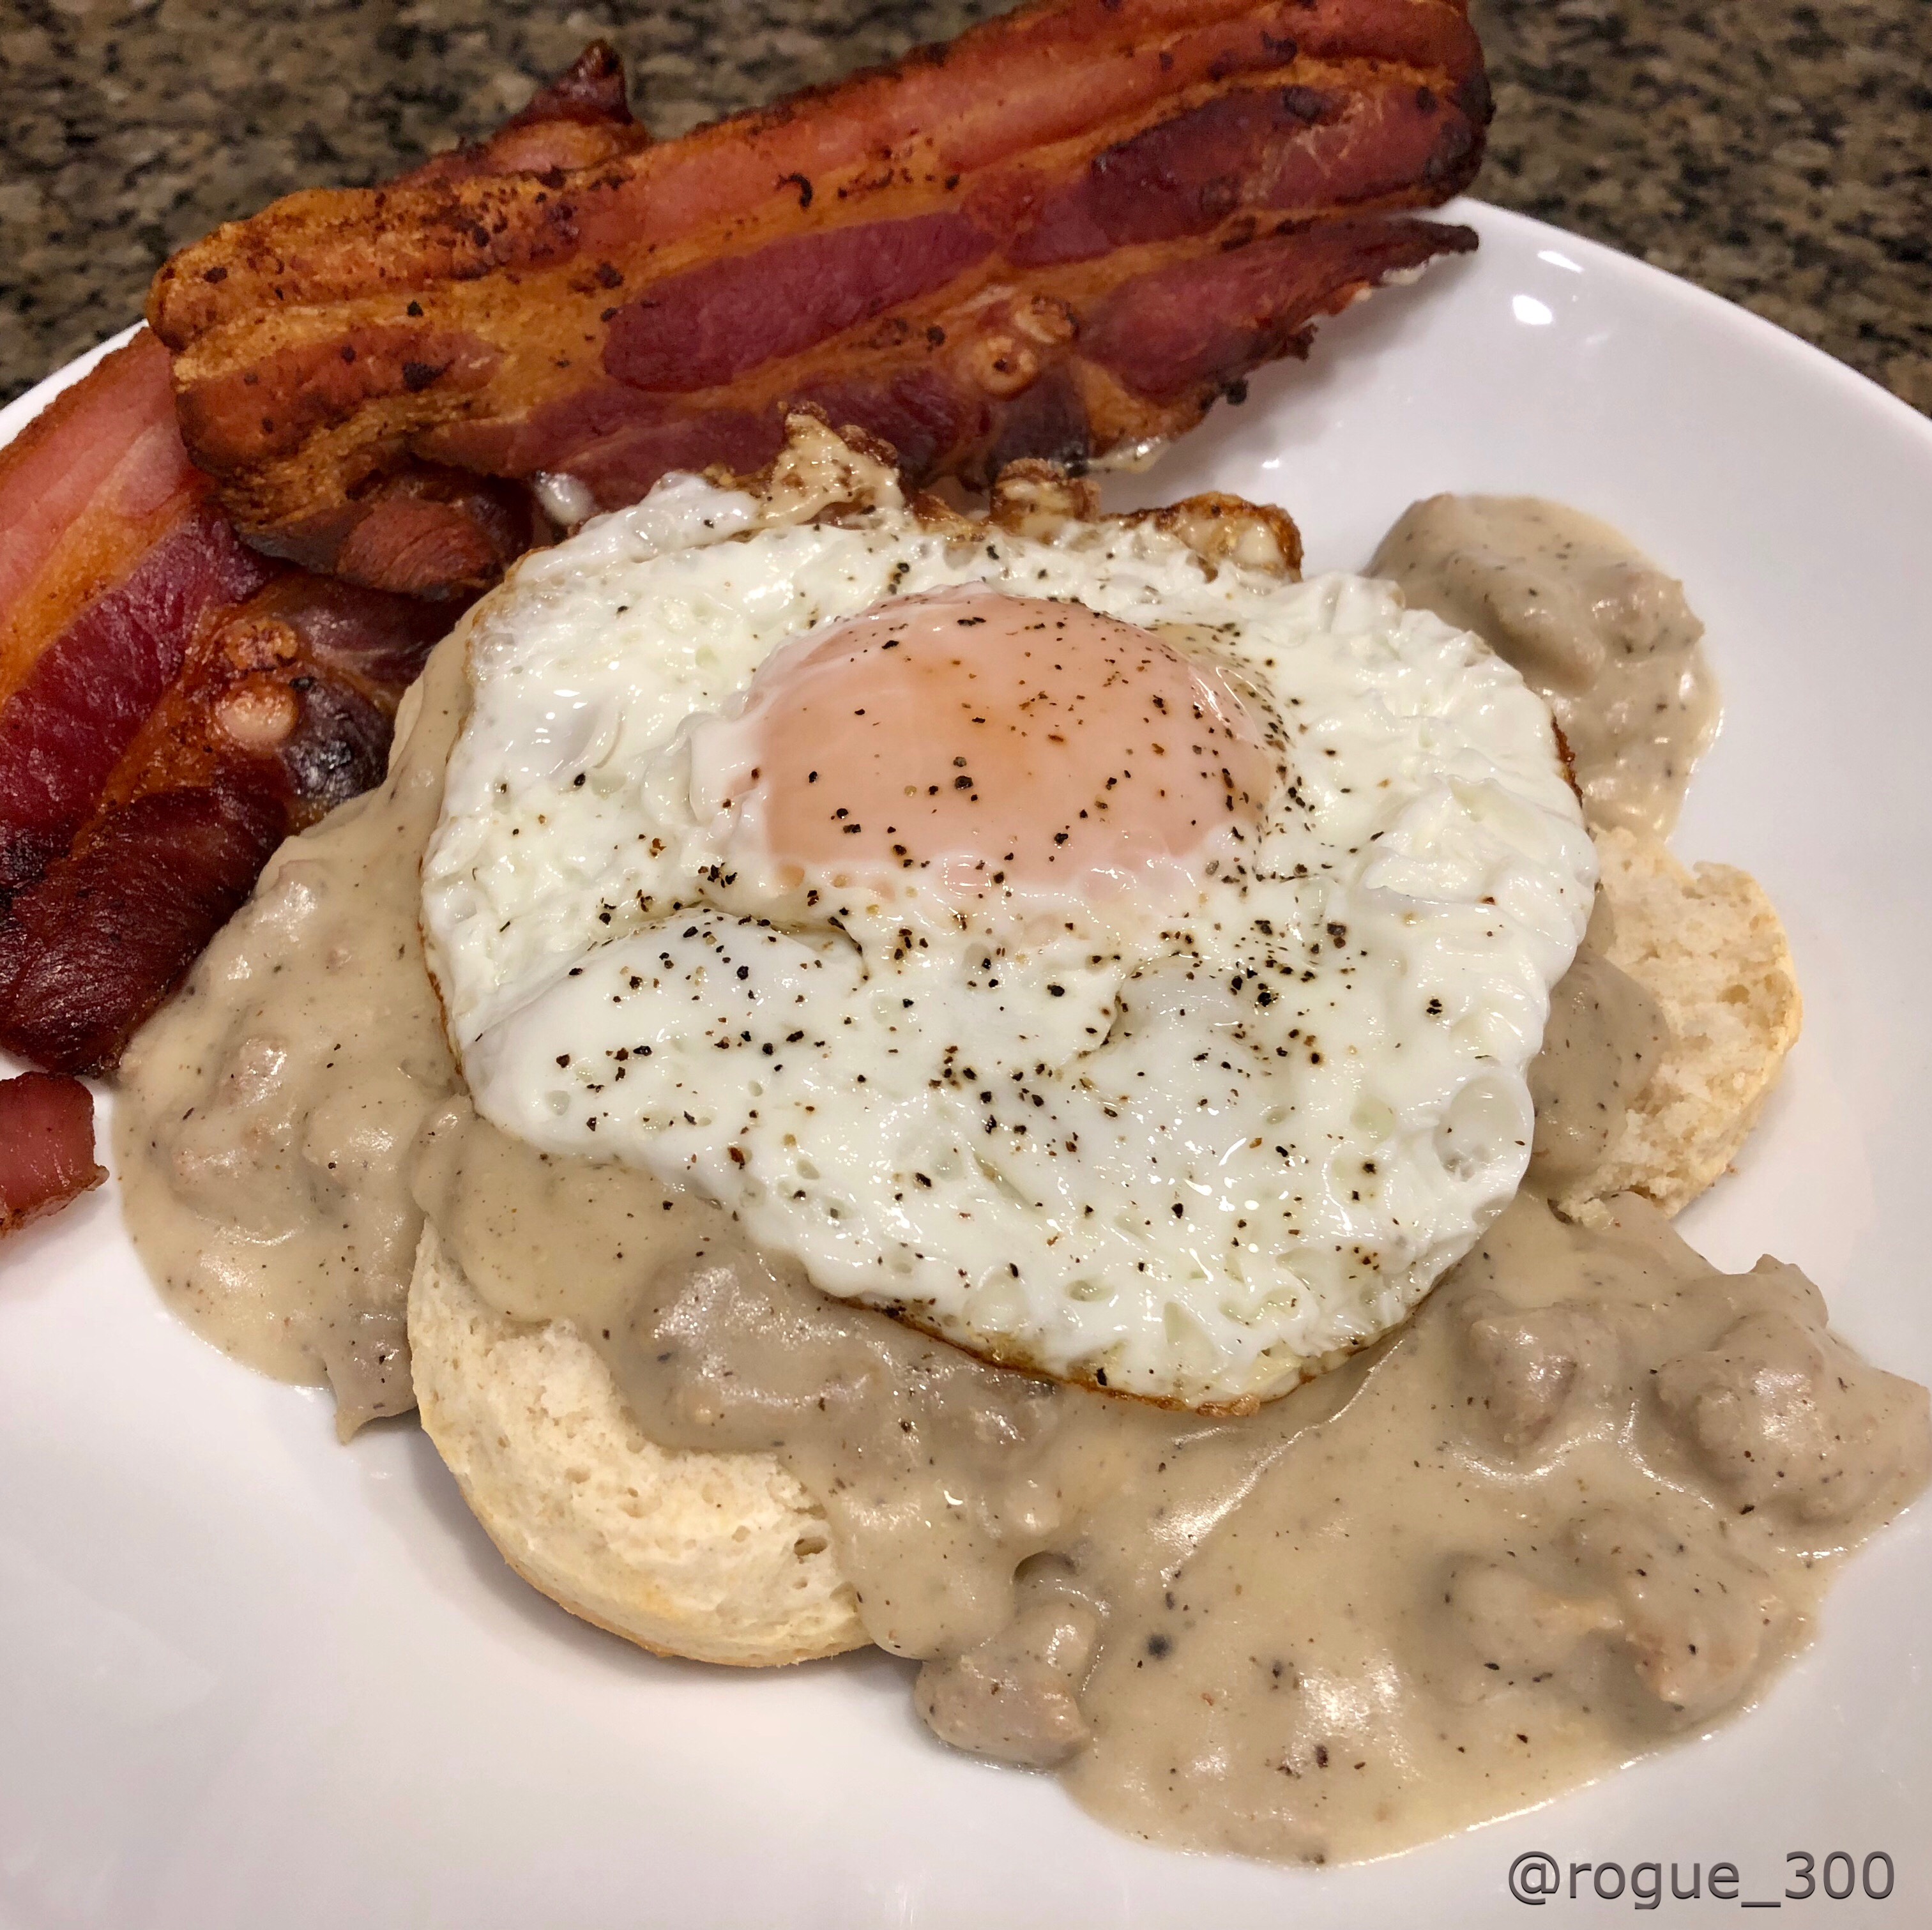
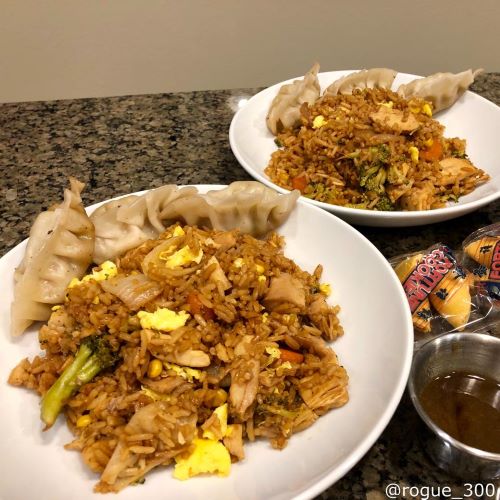
3 Easy Take-Out Fake-Outs for Beef Stir-Fry, Chicken Fried Rice and Chicken Quesadillas
Life gets, well, busy. It seems as if we’re often running from one thing to another – work, errands, events – and it takes a toll, usually on the amount of time we have left to cook. Hey, I get it, and so do all the drive-thru places, take-out restaurants, and meal kit delivery services. Sometimes we want something quick and easy. Well, here are 2 super easy meals and one snack (who am I kidding, I totally eat quesadillas for dinner on a regular basis) that you can have on the table in about the time it takes to get take-out and drive home. How? By cooking a chicken ahead of time (I frequently have cooked chicken in the fridge for quick dishes) and using some pre-made items from our wonderful producer, Des Fresh! Now who wants beef stir-fry with veggies, chicken fried rice, and chicken quesadillas? Yeah, me too! NOTE: for vegetarian dishes, you can absolutely substitute sliced mushrooms or tofu in place of the meat.
Ingredients
For the beef stir-fry:
- 1 to 1 1/2 lbs flat steak think flank, skirt, or iron
- 1/2 cup low sodium soy or tamari sauce note: tamari is gluten-free
- 3 TB sherry
- 2 TB light brown sugar
- 2 TB cornstarch
- 1 TB minced fresh ginger
- 3 – 4 cups chopped vegetables snow peas, carrots, celery, broccoli, mushrooms, onions – whatever you have on hand and like
- 3 TB cooking oil
- Precooked dumplings and fried rice use half for this and the other half for fried rice – yay, two meals! from Des Fresh
For the chicken fried rice:
- 1/2 container of vegetable fried rice from Des Fresh
- 1 cup of precooked chicken
- 1 egg
- 3 – 4 TB soy or tamari sauce
For the chicken quesadillas:
- 3 TB cooking oil
- 1 cup chopped onion – red or yellow
- 4 garlic cloves minced
- 3 – 6 minced chipotle peppers in adobo sauce use more or less dending on your spice preference
- 4 ripe tomatoes seeded and diced
- 3 scallions thinly sliced (optional)
- 2 TB honey
- 2 1/2 cups cooked chicken shredded or diced
- 1 tsp salt
- 1/2 cup cilantro chopped
- 6 or 7 8″ flour tortillas
- 4 cups 2 8 oz. blocks shredded cheddar and/or jack cheese
- sour cream & salsa for serving
Instructions
For the beef stir-fry:
- In a medium bowl, mix together soy sauce, sherry, brown sugar, cornstarch, and ginger. Set aside half of the liquid, add the sliced beef to the bowl and toss to coat well.
- Heat oil in a large skillet or wok over medium-high heat. Add the vegetables in batches – heavier, courser vegetables such as carrots, peppers, and celery should be added first, followed by mushrooms – broccoli and snow peas should be added last to prevent overcooking. Stir the vegetables frequently and cook until tender-crisp. Remove to a clean plate or bowl.
- Allow the pan to get hot again, then add the beef in small batches, being careful to leave most of the marinade in the bowl. Allow the meat to cook for a minute or two before stirring. Turn or stir, to cook both sides – about 2 1/2 to 3 minutes total time. Remove to a separate bowl and repeat with remaing beef.
- When the last batch of beef has been added to the skillet, return the cooked beef to the pan, followed by the vegetables. Pour the reserved marinade over everything and allow to cook, stirring constantly for about 30 seconds.
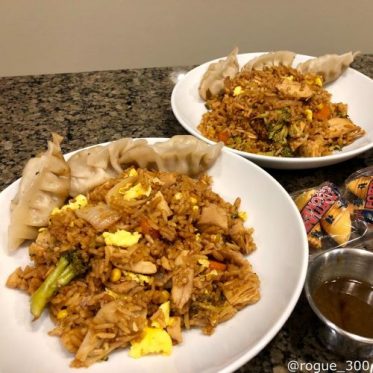
- Serve immediately with fried rice and dumplings for a complete Asian-style dinner.
For the chicken fried rice:
- In a large skillet sprayed with cooking spray or misted with oil, scramble the egg over medium-low heat & then remove to small dish to be used later.
- To the same skillet, add the precooked fried rice, chicken, and 2 TB soy sauce. Gently warm the rice, stirring frequently and adding additional soy sauce if needed. Once the rice and chicken are completely warmed, about 10 minutes, gently stir in the scrambled egg.
- Serve with dumplings for a complete Chinese take-out style dinner.
For the chicken quesadillas:
- In a large skillet, heat the olive oil over medium heat. Add the onion and saute until soft – about 5 minutes. Add the garlic and cook for another minute. Stir in the chipotles, adobo, and tomatoes. Cook until the liquid from the tomatoes has evaporated and the mixture has thickened – about 15 to 20 minutes. Stir in the honey, chicken, scallions (if using), salt, and cilantro. Keep warm while you prep to tortillas.
- Heat a second skillet or griddle over medium heat, spray lightly with nonstick cooking spray. Lay a tortilla in the pan, and heat until hot to the touch, but not crisp. Flip the tortilla over, then sprinkle with shredded cheese. Once the cheese is mostly melted, spoon the chicken mixture on half of the tortilla and fold over. Continue cooking until the tortilla is crisp, and then flip over to crisp the other side. Remove from the heat and allow to rest for 2 or 3 minutes before cutting into wedges.
Notes
Serve with sour cream and salsa